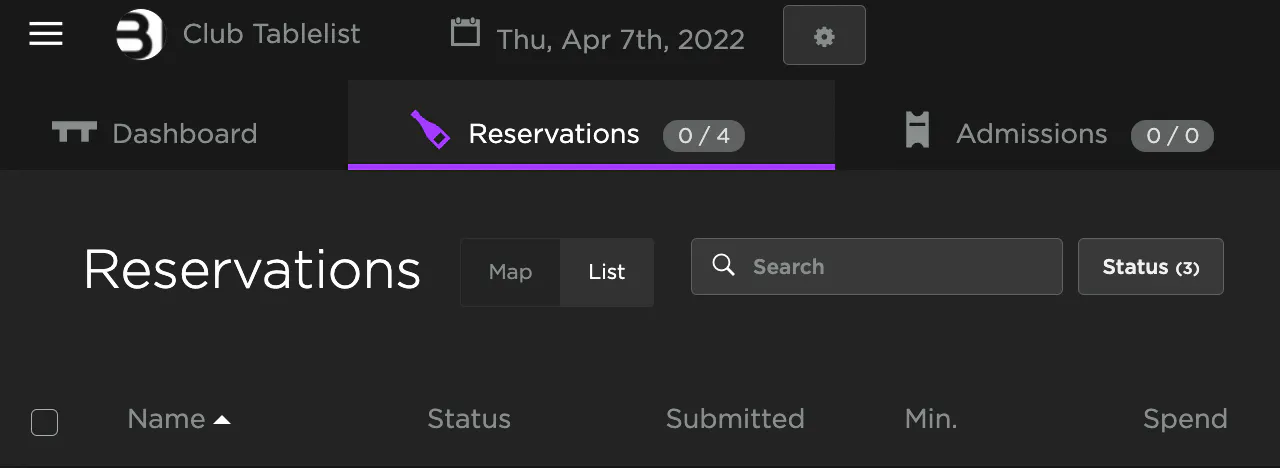
Assign reservations to VIP tables from list or map views so your team always has the right seating plan.
Web
Open the sidebar, click Reservations.
Use List or Map view (between the header and search box).
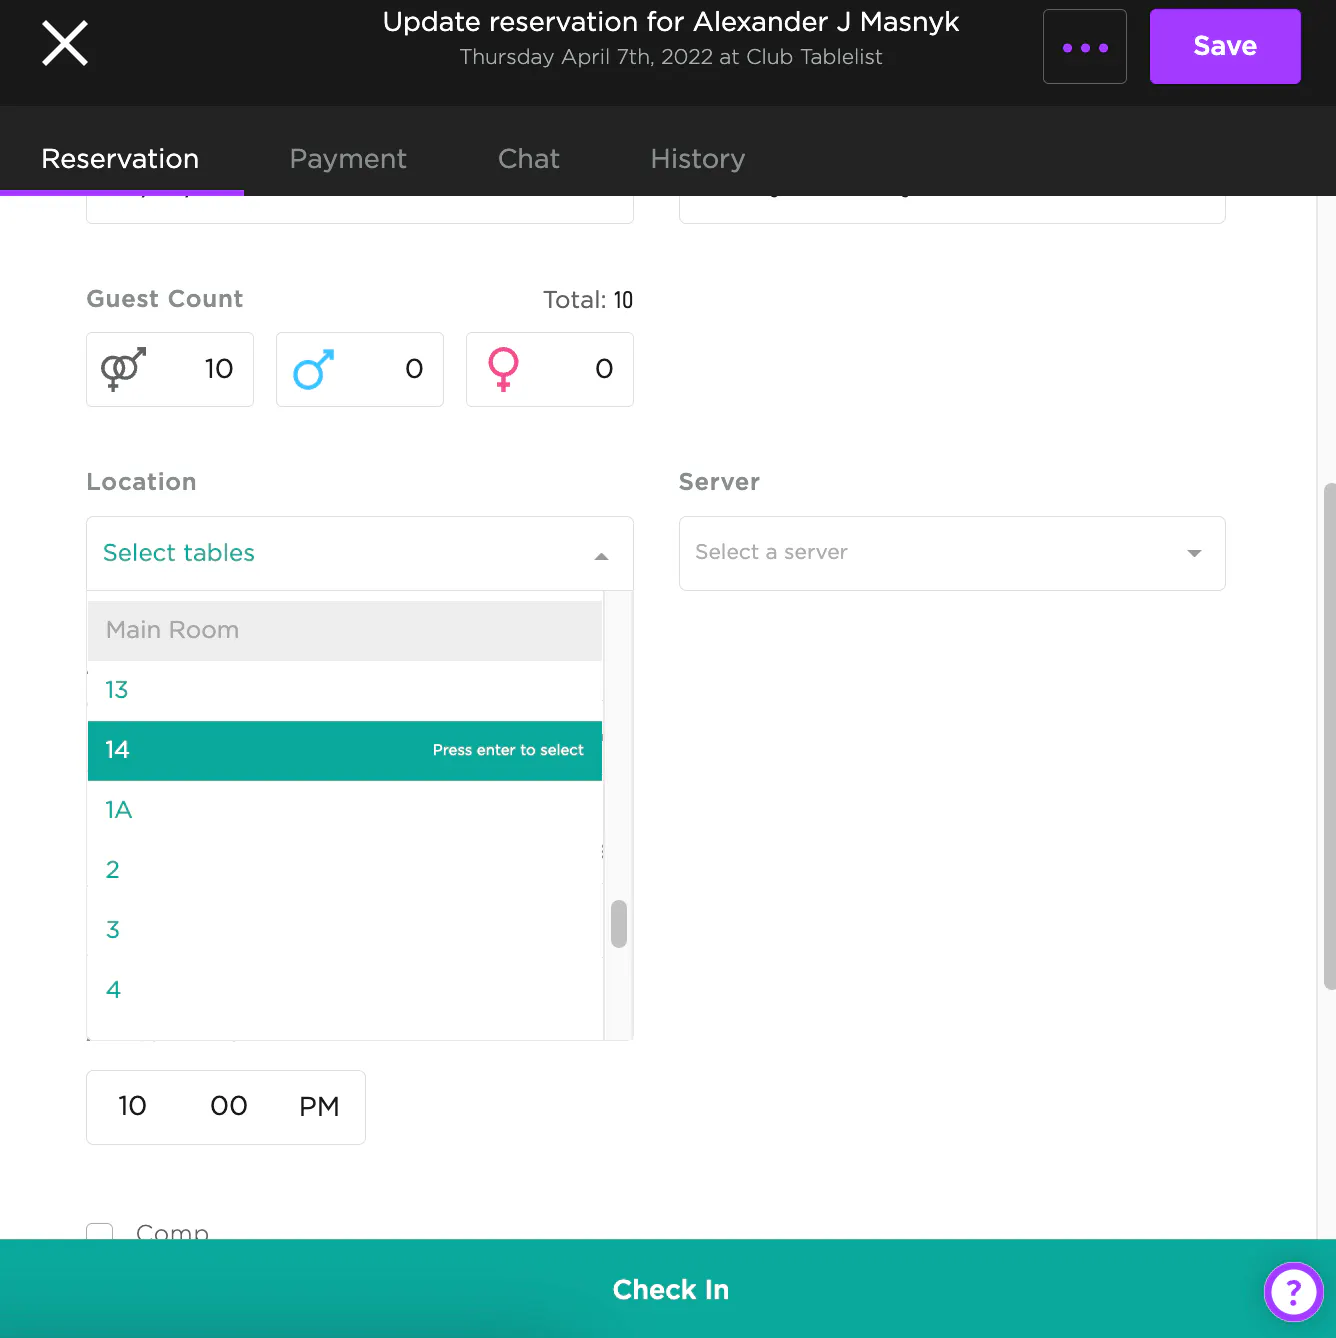
List view: open the reservation, find Location, click Select Tables, choose table(s), then Save.
Map view: drag the reservation onto table(s).
Color guide: red = reserved, green = available, gray = checked in.

iOS
Open Reservations and tap a reservation.

Tap Location and assign from List or Map.
List view: tap table(s) until you see a purple checkmark, then Save.

Map view: tap Assign from Map, confirm floorplan, tap table(s), Done, then Save.

Reserved tables show red on Venue Map.

Android
Android follows the same flow as iOS: open reservation -> Location -> assign via list or map -> Save.
UI details may vary slightly by device, but assignment behavior is the same.