Control your venue's theme, accent color, logo, and gallery images on consumer-facing pages, widgets, checkout, and confirmation emails.
Open the sidebar, click Settings, then Branding.
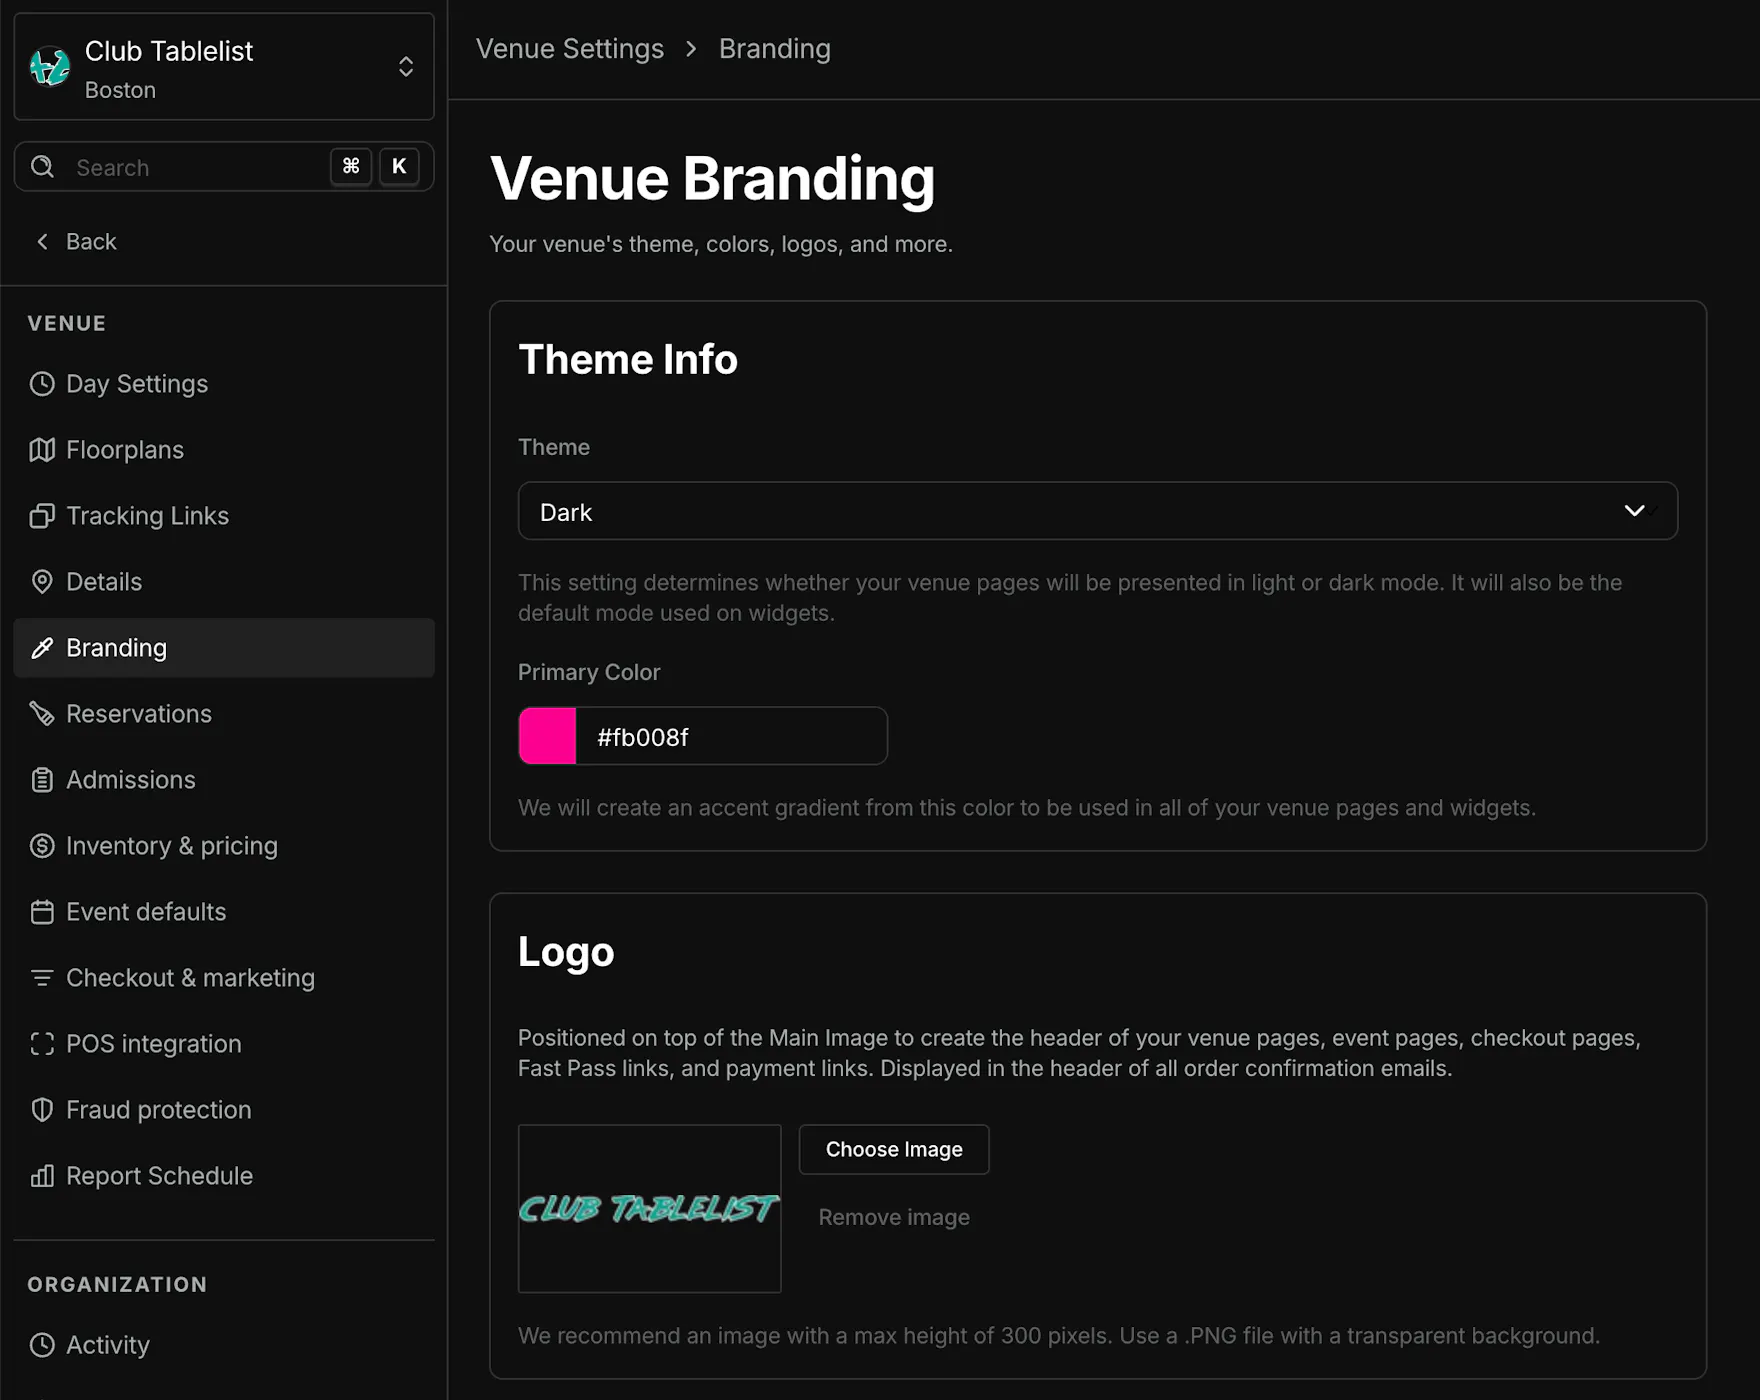
Theme info
Theme — Choose Light or Dark. This sets whether your venue pages use light or dark mode, and is also the default mode on widgets.
Primary color — Pick your brand accent color. TablelistPro builds a gradient from this color for venue pages and widgets.
Click Save when you've made changes.
Logo
Your logo sits on top of the main image in the header of venue pages, event pages, checkout, Fast Pass links, and payment links. It also appears in the header of order confirmation emails.
Use Choose Image to upload a logo, or Remove image to clear it. We recommend a PNG with a transparent background and a max height of about 300 pixels.
Images
Add up to four venue photos (1400 × 900 pixels, 14:9 ratio recommended). Use the + control to add a row, then upload in the Image column.
| Column | What it does |
|---|---|
| Image | Upload or replace a photo |
| Primary | Mark one image as the main backdrop behind your logo in headers (checkout, Fast Pass, payment links, etc.). It appears first in the venue photo gallery (About on your venue page) and in some confirmation emails |
| Remove | Delete that row from the gallery |
All non-primary images still appear in the photo gallery on your venue page.
Click Save after uploads finish — you can't save while an image is still uploading.
Related articles
- Venue Details — name, address, and timezone (Settings → Details)
- Internationalization settings — currency, language, and date format (Settings → Internationalization)